Norco, CA, November 21 - Understanding how QCP can be there “for your design,” is crucial to our team, and we’re outlining the steps required to make that happen.
Step 1: Determine budget and scope
What is your rough budget?
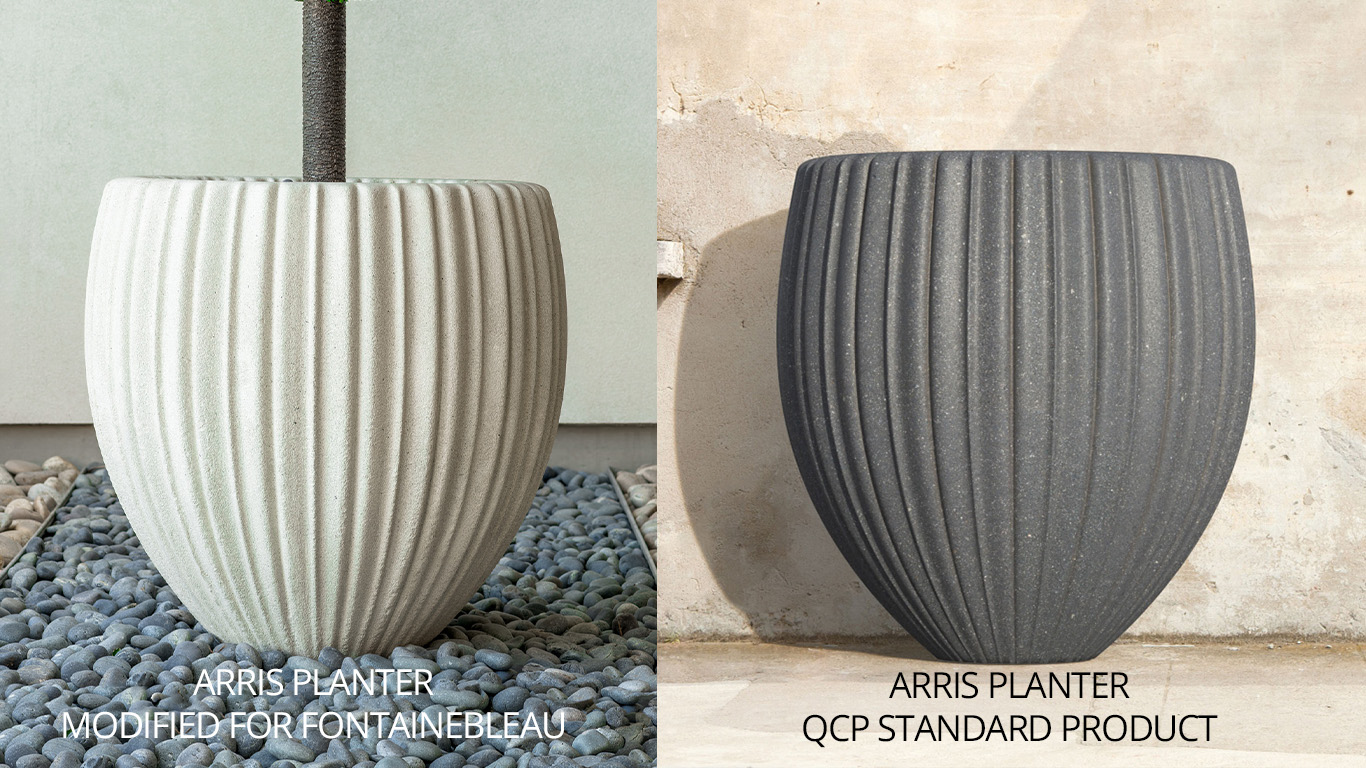
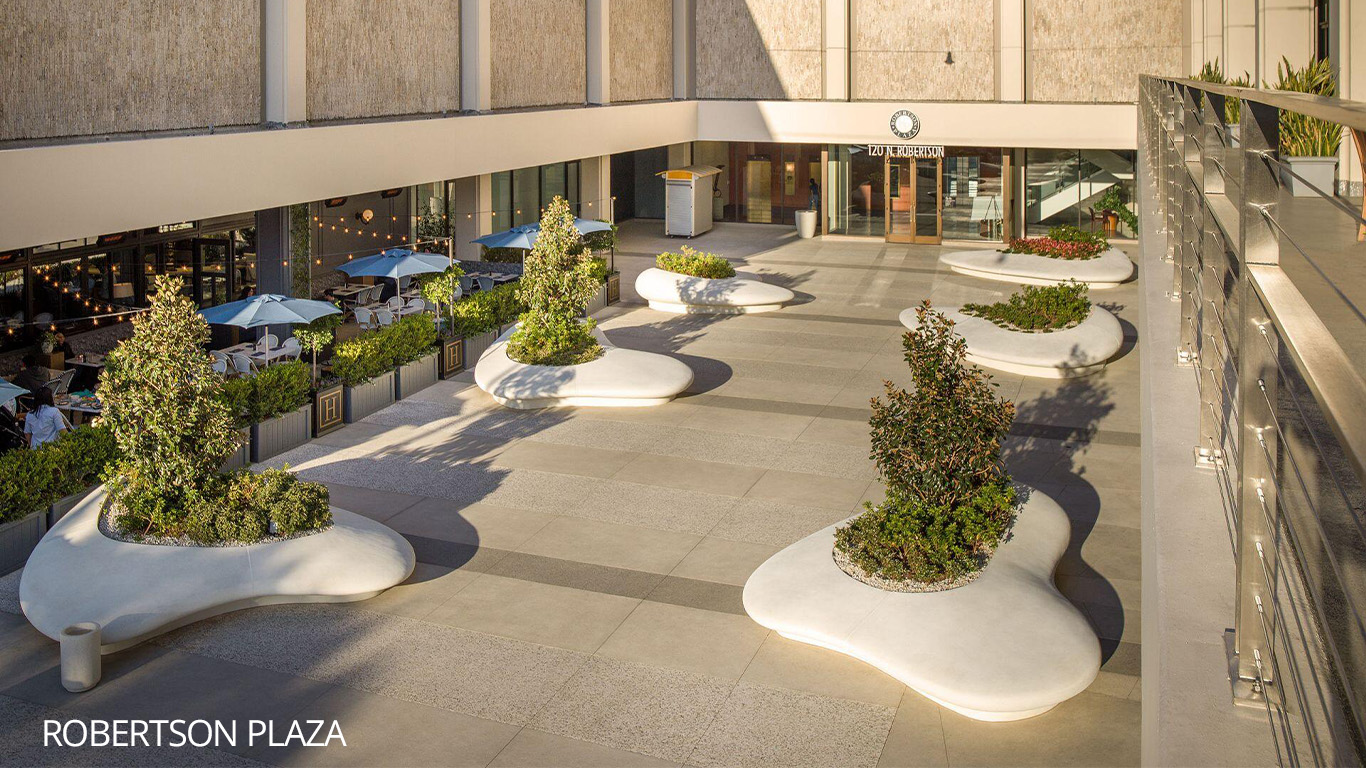
First things first: Are you interested in modifying existing Standard Product designs, or would you prefer a completely bespoke custom piece? For example, Fontainebleau in Las Vegas modified the sizing of our Arris planters, whereas Robertson Plaza in Los Angeles required brand new designs and molds to create different shapes. This extends to the color and texture of your product as well. Review our standard colors and textures before deciding if you want a custom color and/or texture created for your project.


Which materials do you want to use?
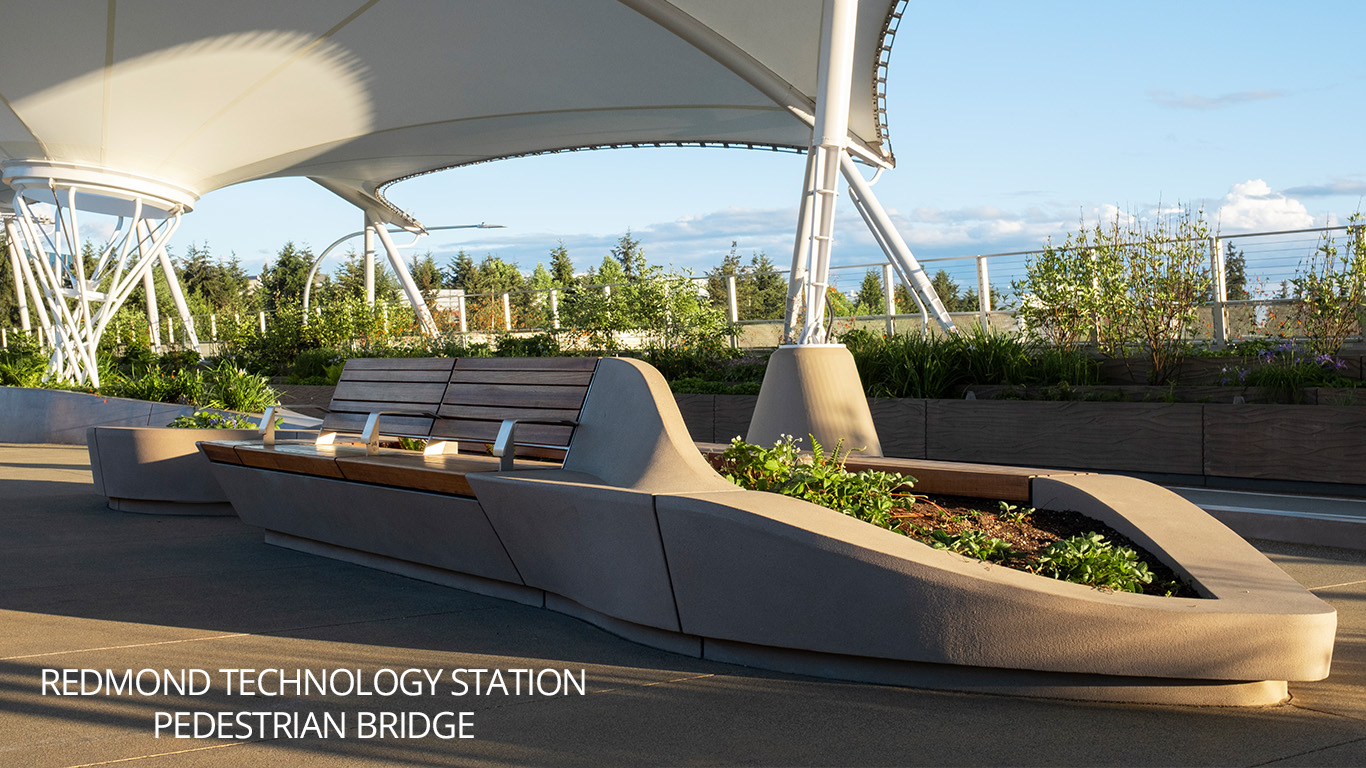
Our mixed media consists of three materials: precast concrete, wood, and steel. You can choose to incorporate one, two, or all three in your design. We also have extensive experience sourcing other materials that align with your vision.

Where and how will your project be installed?
Will your project be installed on grade or on a structure? The answer will determine how we will tackle the project. If you are mapping out the design for a rooftop terrace, for instance, you’ll likely want to use our popular glass fiber reinforced concrete (GFRC), since it’s significantly more lightweight than our other precast concrete mixes. At this stage, you should also consider the plan to anchor these items down.
Step 2: Provide Models or Drawings to a SalesPerson
When you email us at sales@qcp-corp.com or request a quote, we’ll connect you with a local sales representative. After determining your rough budget, you’ll need to send your rep any 3D models, drawings, and other design materials.
Step 3: Consult with Salesperson on Estimated vs. Final Budget
After reviewing your designs and budget, your sales representative will respond with a rough estimate for the final price of your project. As part of the collaborative process, we can also help with value engineering to find the appropriate solutions to make the most out of your budget.
Step 4: Specification
The best way to protect your spec? Be specific about your requirements for the following:
-
Samples
-
Shop drawings
-
First article or foam mockup (optional, if needed)
-
Air entrained precast
-
5000 PSI minimum strength precast concrete
-
Water and stain protective sealant (graffiti proof sealers is recommended for public spaces)
-
Architectural Precast Association-certified
-
Quality control program
-
Pieces to be assembled at manufacturing location and available for review and approval for color, texture, and fit by architect
Step 5: Submittals
After you’ve submitted your requirements, we’ll send over shop drawings, samples, and the first article or foam mockup. You’ll review these materials and send back your feedback. Once approved, we’ll manufacture all of the items in your order.
Step 6: Site Installation
Before taking it to the site, QCP will test fit the items in our own factory, as part of our quality control process. From there, we will use recommended vendors to install these pieces onsite.

